


miso brown butter chocolate chip cookies
aka the recipe that went viral in October

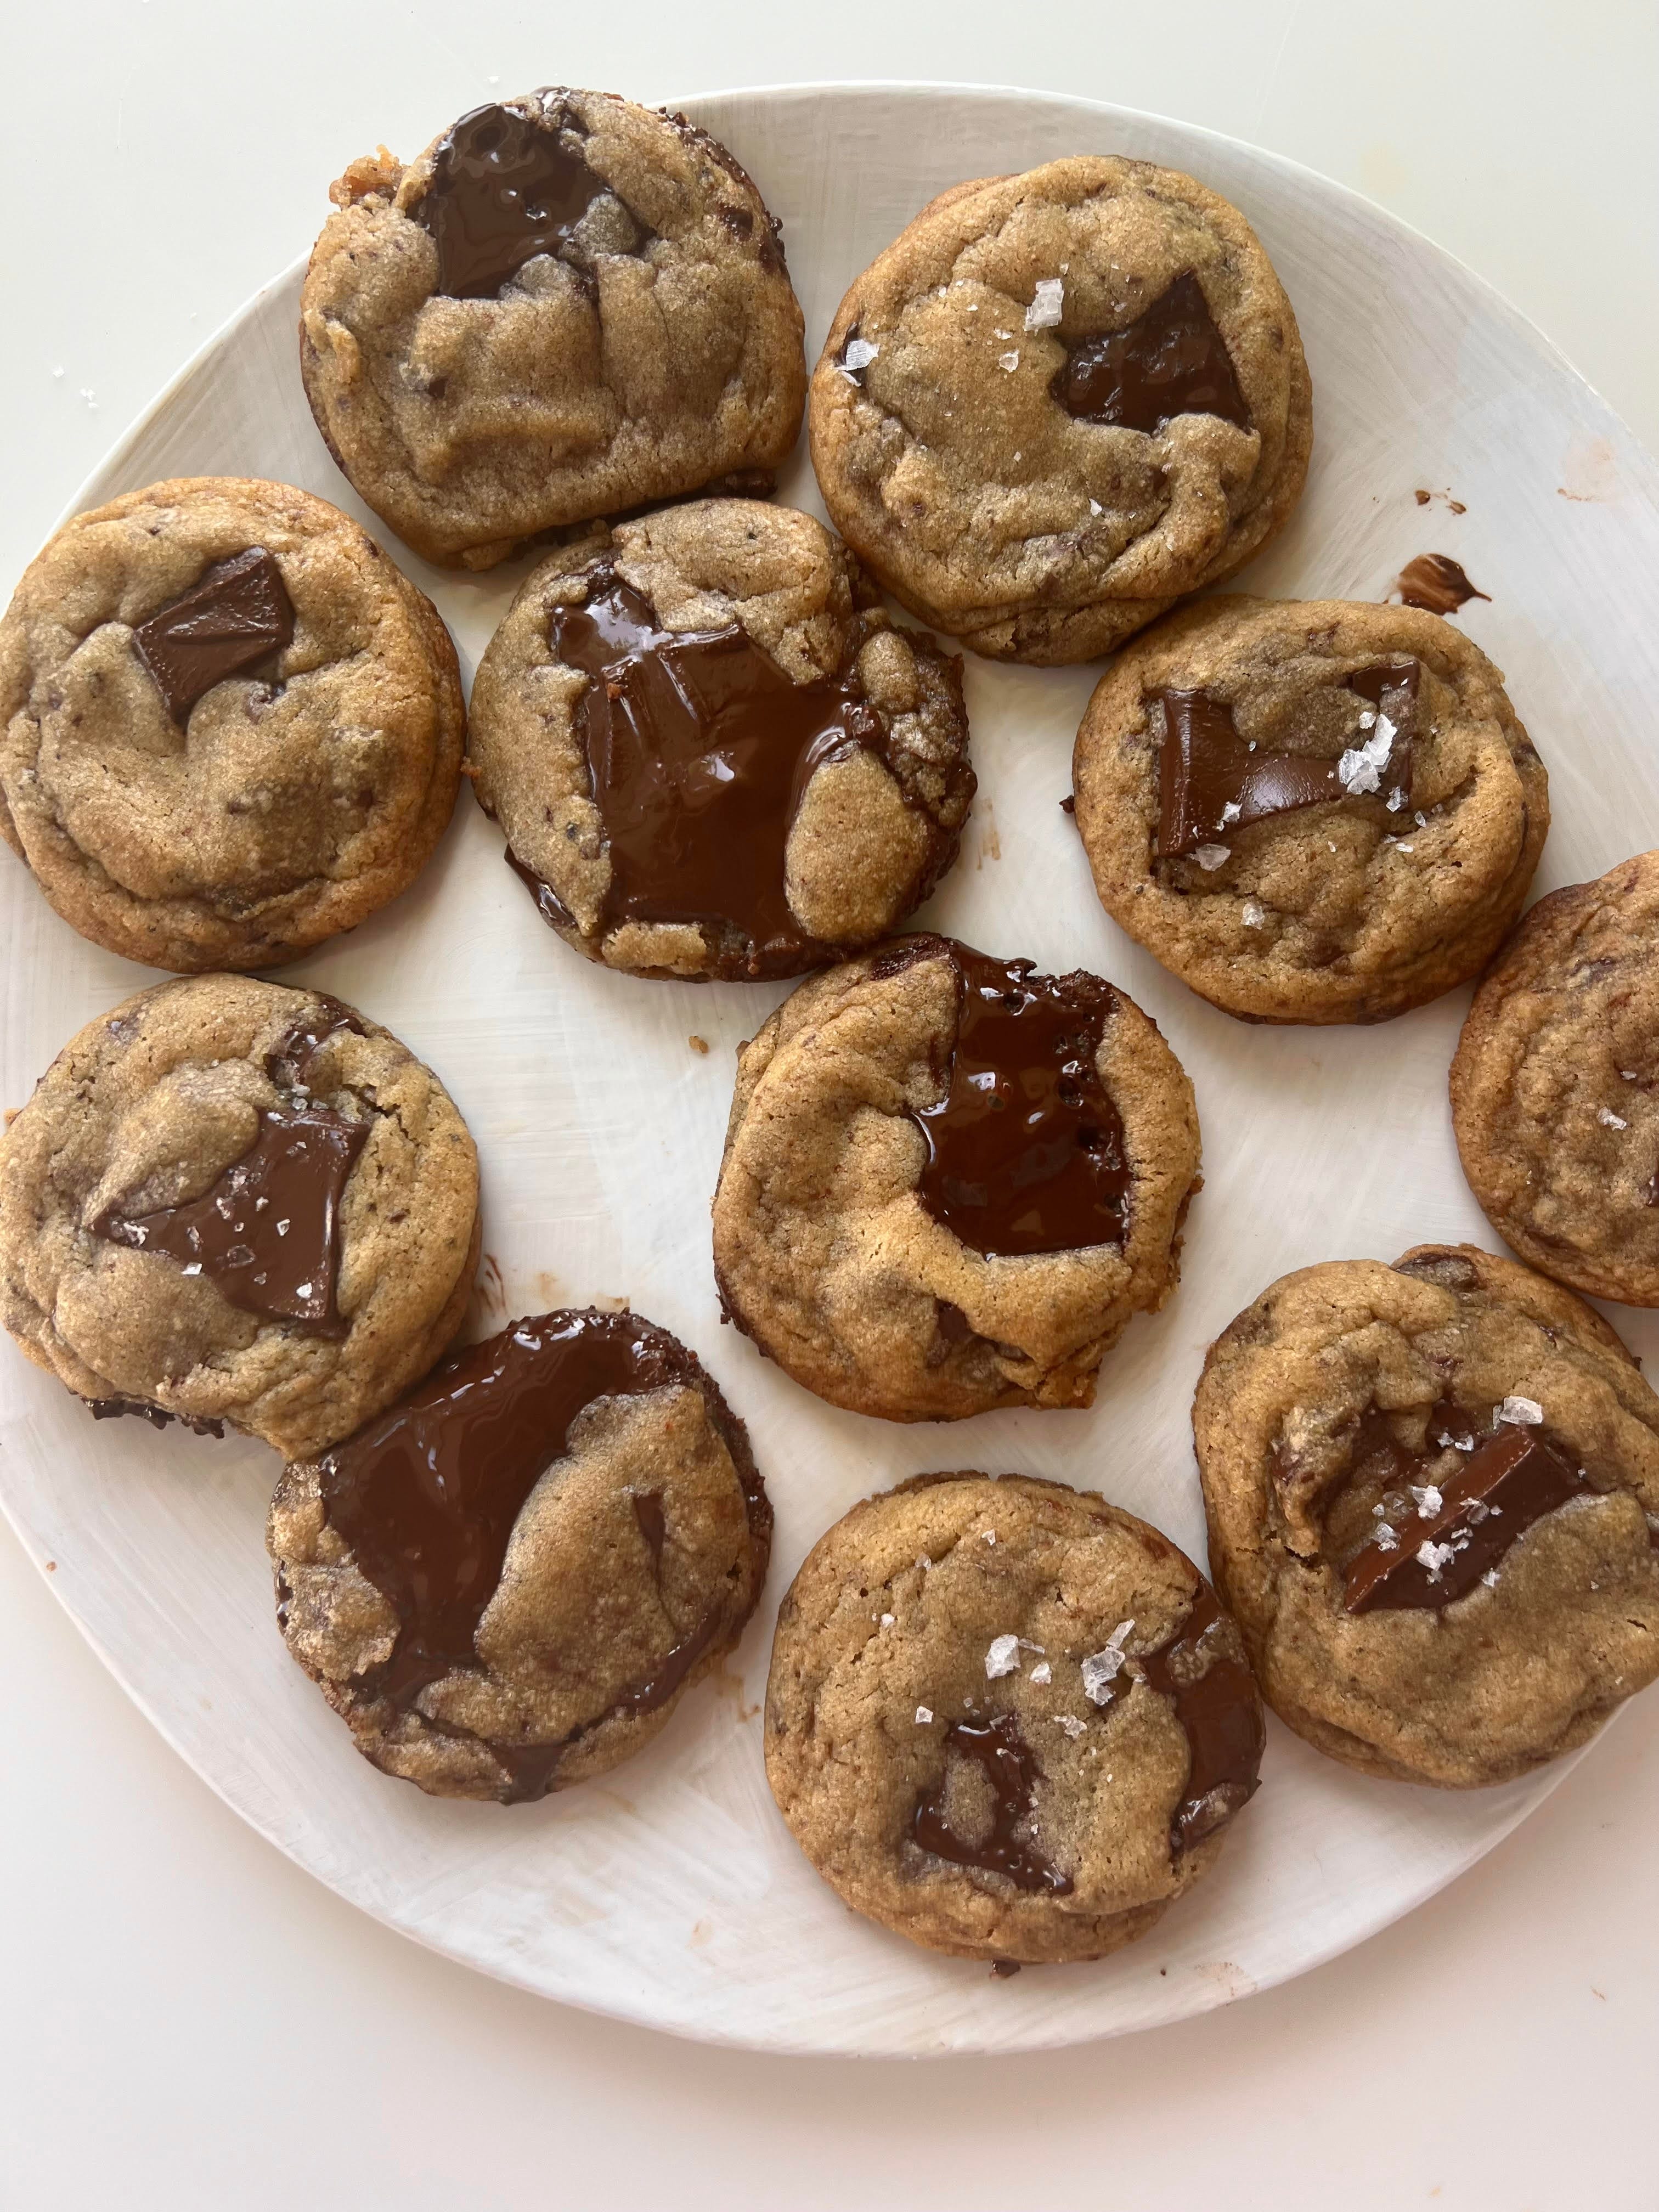
In October, I posted my viral brown butter miso chocolate chip cookies. I was bombarded with requests for the recipe, and panicked because I hadn’t developed it exactly the way I wanted to yet. Well, now that we’re halfway through 2024, I’m ready! I know this is a big claim, but I have good reason to believe these are the best chocolate chip cookies you will ever taste in your life, because they will taste different than any chocolate chip cookie you have ever tasted in your life. The addition of super umami miso (an ingredient we’ll cover next in the FAQ) puts these cookies in an entirely unique league of their own. There’s a ton of vanilla in this recipe to pair with that beautiful savoriness we imparted with the miso. We also use several techniques like browning butter and chilling the dough to make these cookies structurally perfect. Finally, it requires no special equipment! Without further ado (you guys have waited long enough!), let’s get in to the details.
FAQ:
Why miso?
Miso is a Japanese fermented soybean (meaning if you have an allergy to soy, this recipe is not for you!) paste. It has an extremely unique umami flavor that is neither just salty or sweet. Adding it to your cookies (instead of salt) yields an extremely complex flavor in your cookie you can’t get anywhere else. My recipe uses more miso paste than most, as others I’ve tried didn’t impart enough flavor to me and I think the uniqueness of the umami is worth it. If you’re wary of using a savory ingredient like miso in your baking, cut the amount down to one or two tablespoons. There are several types of miso, but we’ll use white miso paste in this recipe for its mild and vaguely sweet flavor.
Why brown butter?
Browning the butter evaporates the its water content and toasts the milk solids, offering your cookie a far more complex depth of flavor by imparting a sweet, nutty aroma and taste via caramelization. The dough will take on an almost butterscotch-like taste that elevates every aspect of the cookie.
Why chill your dough?
Chilling your dough has multiple benefits. Firstly, and most importantly, it allows the flour in your cookies to fully hydrate. This means the flour absorbs the water from the butter and you avoid a cookie that is tough and dry. Secondly, it controls spreading - cookies that are baked from room temperature have a tendency to spread wide and flat, as the fats in the dough aren’t solidified. As an added bonus, your cookies are also easier to handle and the flavors are better developed. For these reasons, I suggest chilling for the full recommended 24 hours, but you can get away with 30 minutes to an hour.
Can I freeze these cookies?
Yes, I recommend freezing the dough balls themselves. Flash freeze them by placing them in the freezer for about 1-2 hours on a sheet pan, and then place in a freezer bag until ready to bake. You can bake directly from frozen, just add a minute or two to the bake time.
Ingredients:
3/4 cup (170g) unsalted butter, sliced in to tablespoons then browned
2/3 cup (135g) brown sugar
1/3 cup (67g) granulated sugar
One large egg, room temperature
One tablespoon vanilla or vanilla bean paste
1/2 tsp baking soda
1/4 tsp baking powder
1 and 3/4 cup (210g) all-purpose flour
1 cup (220g) dark or semisweet chocolate, or a mix; chopped
3 tbsp white miso
Flaky sea salt (optional)
Directions:
Brown your butter by first slicing it in to tablespoon sized pieces (you don’t need to soften it or even bring it to room temperature — straight from the fridge is fine), and then melting it over medium heat in a saucepan. The butter will begin to foam as the water evaporates and the milk solids separate from the butterfat. Whisk the butter continuously, about 5-8 minutes, until you see brown specks at the bottom of the pan and the butter develops a nutty aroma and a deep caramel hue. As soon as it reaches a deep golden brown color, immediately transfer to a heat safe bowl and allow to cool.
While the browned butter cools, prepare your dry ingredients in a medium mixing bowl. Whisk together the baking soda, baking powder, and flour, and set aside.
In a large mixing bowl, whisk together your butter and sugar. Then, add your egg and vigorously whisk (you can also use an electric mixer for this) for at least a minute, or until the mixture is pale and fluffy. Whisk in your miso and vanilla until combined.
Tip your dry ingredients in to your wet mixture. Use a rubber spatula to incorporate the wet in to the dry until just barely combined (a few stray white streaks of flour are ok — they’ll come together when the chocolate is mixed in). Do not overmix — doing so will make your cookie too dense and tough. Fold in your chocolate until evenly incorporated.
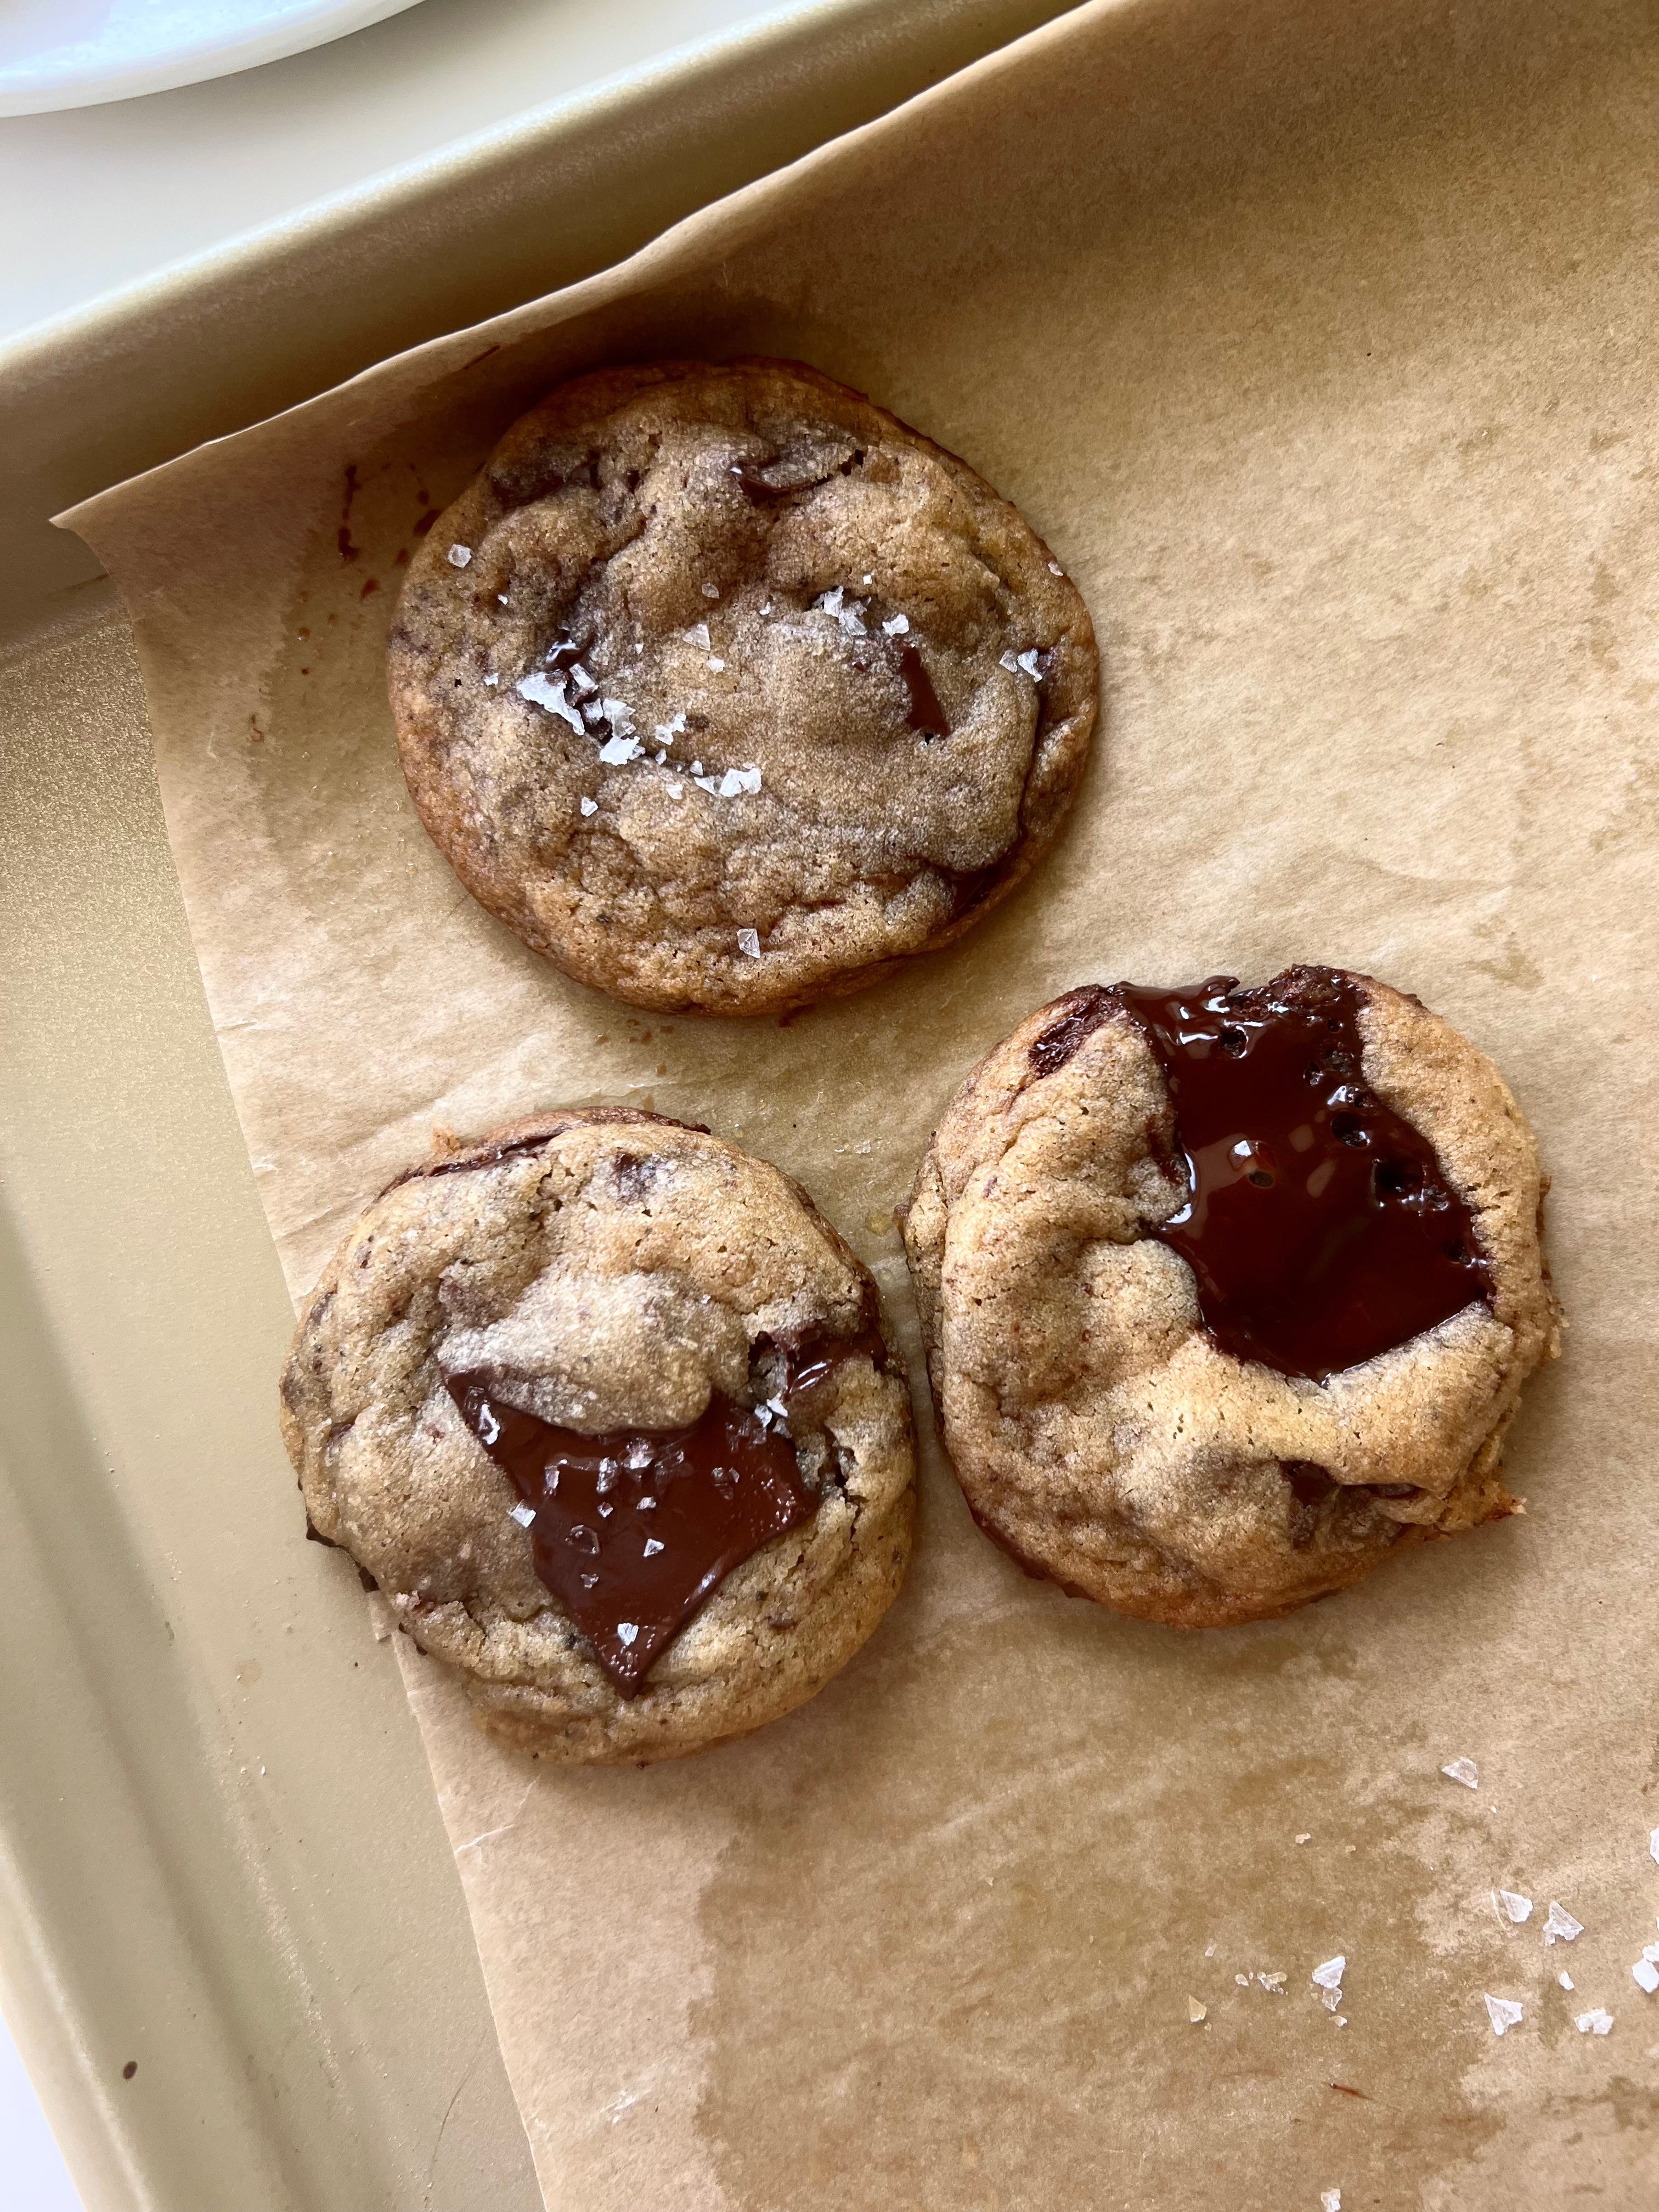
Using a small cookie scoop, portion out 16 dough balls on to a lined baking sheet. Now, here’s a trick for Erin from Cloudy Kitchen for getting those perfect chocolate pools on the surface of your cookie. Flatten the dough balls, press a piece of chopped chocolate on the surface, and roll back in to balls. Repeat this until each dough ball has an extra topping of chocolate.
Time to chill. Cover your sheet tray in plastic wrap, place in the fridge, and store in the fridge anywhere from 30 minutes to 24 hours (recommended).
When you’re ready to bake, preheat your oven to 350. Bake the cookies 8 at a time for 11-13 minutes until the edges are crispy and golden brown and the center has puffed up.
If you’d like, sprinkle the cookies with flaky sea salt. Allow the cookies to cool on the sheet tray until they’re solid enough to handle (about 5-10 minutes), then transfer to a wire rack to cool completely or enjoy your warm gooey cookies right from the rack!
TIPS:
WEIGH YOUR INGREDIENTS. I strongly recommend getting a scale and measuring your ingredients in grams. You will be able to replicate the recipe far more accurately this way, and won’t risk drying out your cookies with too much flour by measuring volumetrically. Too much flour = a tough cookie!
I like to use a mix of semisweet and dark chopped chocolate, but you can use all semisweet or all dark if you prefer.
we will be making 👩🏾🍳
thank you oml